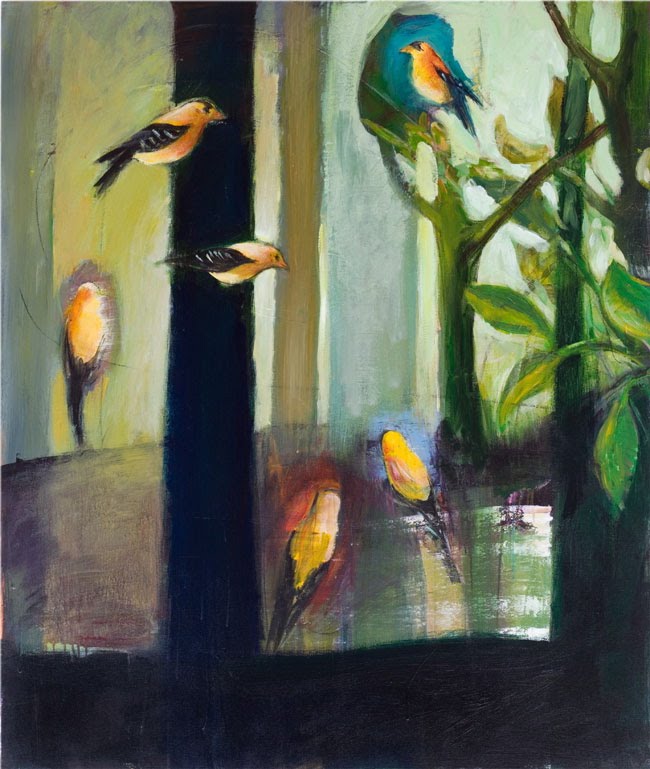
Tuesday, March 15, 2011

Bauble Break

Sometimes I crave total silence, and this was one of those times. Living with a husband, 2 teenage boys, and a demanding bulldog, I often feel like I never have a solid chunk of time to focus on what I want to do. So for my birthday this year, I gave myself a blissful retreat--alone-- to the beach.


For 3 nights I painted and read, took walks and stitched.

A perfect place to work on simple baubles:


Sunday, March 6, 2011

Pamela Allen lesson #4

I'm still working on my lesson from week #3, so I'll post that later. Here's a little exercise we did from week 4. The focus for the week was on negative space, and we warmed up by doing a chair formed from the negative space. In other words I started with the tan and black lined fabric and cut the negative space from the colored fabric to form the chair.


It was very challenging even though I've done these sort of exercises in drawing already. I was so focused on getting the right shapes that I didn't give any thought to composition. Here're Pamela's suggestions to improve the composition of the piece:

My main problem was lining up fabrics right along the rungs or right with the seat line. And I always tend to crop closely while she allows more space around an object. I do like these changes she suggested.

The main part of this lesson was to do the same technique of using only negative space but now of a woman sitting in a chair. After one very dismal attempt, I decided it was way too tedious to try to rework, so I'm abandoning it and going back to work on lesson 3. I got the lesson of the importance of negative space, but can't say I enjoyed it.

Sunday, February 20, 2011

Pamela Allen exercises--part 2

Pamela gave us an alternative exercise for those who didn't want to venture into the complimentary color one. I needed more practice (and still do!) with composition, so I gave this one a quick try.

The assignment was to pick two colors and do a whole composition using only those, focusing on different values and intensities. The color didn't hang me up, but the composition did.

My thoughts here were that I wanted a big, bold contrast between the citrus and the blue bowl. I wanted it strong and graphic, yet anchored in a setting. I came up with this:


Pamela said the composition and scale made it visually confusing--the bowl is so much bigger than the chair, and the strong diagonal gives a strange perspective. Also the bowl is too big and cramped in the space, and there needs to be more variety in shapes to keep it interesting. Here is her revised version:

I do like the additional space she added. The bowl still really pops but is anchored much better in the space. And I really like how she kept the right half quiet, keeping all the emphasis on the bowl. She mixes up patterns, like putting the stripes of the floor in different directions to keep things interesting.

So now I'm struggling with how to do scenes that are not realistic, yet don't throw the viewer by being visually confusing. Not sure if pictorial pieces are ever going to be my thing, but it's a great learning experience!

For those of you who are interested in Pamela's classes. She only takes 20 in her class and has been teaching only one online class a year. Her classes fill immediately with return students, so there are seldom openings. But the good news is--she is considering repeating some of the classes more often during the year to allow in new students. If you are interested, email her at allen5@sympatico.ca

On another note, Stephanie is giving away one of her carved hearts over on the Portland Art Collective blog. Go here and leave a comment to enter. I have several of her carved pieces and love them!

Friday, February 18, 2011

Pamela Allen workshop

I am really thrilled to be taking another Pamela Allen online workshop this month. I got so much out of it last year that I couldn't resist another round, this one focusing on color and pattern.

We started by doing the same exercise we did last time, but since I wasn't hugely successful the first time, I was happy to have more practice. We chose a painter whose colors attract us, and then we tried to copy those colors in fabric.

I chose this painting by my favorite Portland artist, William Park.


And my fabric version. I would have liked to have found a bit brighter, bluer green for the background, but this was as close as I had. It's a great challenge and teaches so much about putting together colors you might not naturally go to.

Next we take those colors and create our own small composition with them:

Pamela critiques each step of the way by photoshopping in changes she recommends. A fabulous way to see what works! My first exercise was fine. On this one she suggested a little more modeling with a few more pieces on the trees and mushrooms. I really like the added depth it gives to the mushrooms especially.

Our week 2 assignment was to take another painting we are drawn to and then recreate it in all its complimentary colors. I chose this Matisse:

Warning--this gets really ugly! The compliments make her look ghoulish. But I was really happy that Pamela said I had them all right. It's a huge challenge because you are not only thinking about color compliments, but also trying to find the correct values and intensities in that compliment. And translating from paint to fabric carries its own special challenges. A very worthwhile--but exhausting-- exercise!

You can see the exercises from last year here, here, here and here, and I'll be posting more as the class continues.

Monday, February 14, 2011

Happy Valentines Day!

We had a Valentine's swap at our art group meeting this month, and this was my card. I wanted to see if I could take Beryl Taylor's reverse applique technique and use it in a shape other than a circle. It works fine, but I still think there are much easier ways to get a similar effect, so more play is needed.

Sunday, January 30, 2011

Stirring It Up

I've been feeling stuck lately so decided to play around with a few new things.

Beryl Taylor had an article in Quilting Arts Dec./Jan. 2011 on machine reverse applique. I thought it would be fun to try using busy black-and-white patterns as my foreground.


You make a set of them:
Then cut them in quarters and rearrange them to make wonky circles:

I think they'd make fun long banners.

I first saw Ro Bruhn play with these here. I love what she did with all the hand embellishment on top and thought I'd do that. But Beryl's directions call for these to be 4" squares, which end up with some pretty tiny, but very thick, little bits. I think I'll try it again with at least a 6" square before I work with hand embellishment on top. This is the sort of project I love because it gets me thinking of all sorts of variations to try next.

The other thing I have been absolutely loving is working through the exercises in Steven Aimone's "Expressive Drawing" book. I first wrote about that here.

Right now I'm doing an exercise where you draw with black paint and then go back in and "erase" with white paint. You work as large as possible, fast and loose. It's fabulously freeing!


And I'm starting another Pamela Allen online workshop this week, so I'm hoping I'll have inspiration coming from all sides.

Sunday, January 16, 2011

The Gift

I had such a wonderful surprise when my art group presented me with a giant bin full of their fabric scraps this week! I delighted in each and every one of them--the good, the bad and the ugly--they will all find a place somewhere. I spread them out on my floor and admired each in detail and let the possibilities flow.


Usually when I haven't worked for a while (Like Now!), I get back into things by playing in a mixed media journal. This time I decided to play with all those new fabric scraps and try a little pocket folder I saw in the Jan./ Feb. issue of Cloth, Paper, Scissors. Heidi Sekovski and Karin Winter describe how they make a Folder Journal out of a standard manilla file folder. It reminded me of the very fun journal for Mexico I made in Mary Ann Moss's online Remains of the Day class. You can see that one here.

The Folder Journal is made by sewing paper and fabric onto a manilla folder, then folding and stitching little pockets in it for your journal papers. Here's mine, without any journaling paper in the pockets:

The Front:
The Back:
The In-Between:
It was fun to dig through my new bin of scraps and see what would work. I made a lot of mistakes with this one and found that I would revise their directions next time. If you decide to try one, I recommend adding all the fabric and embellishments that you want before you fold it into the journal shape. Once that's done, you can't get into areas to stitch stuff on. I have enough scraps now, that I just might try another one.